> ## Documentation Index
> Fetch the complete documentation index at: https://docs.reelevant.com/llms.txt
> Use this file to discover all available pages before exploring further.
# Roles
> Create and configure roles with granular resource-level permissions
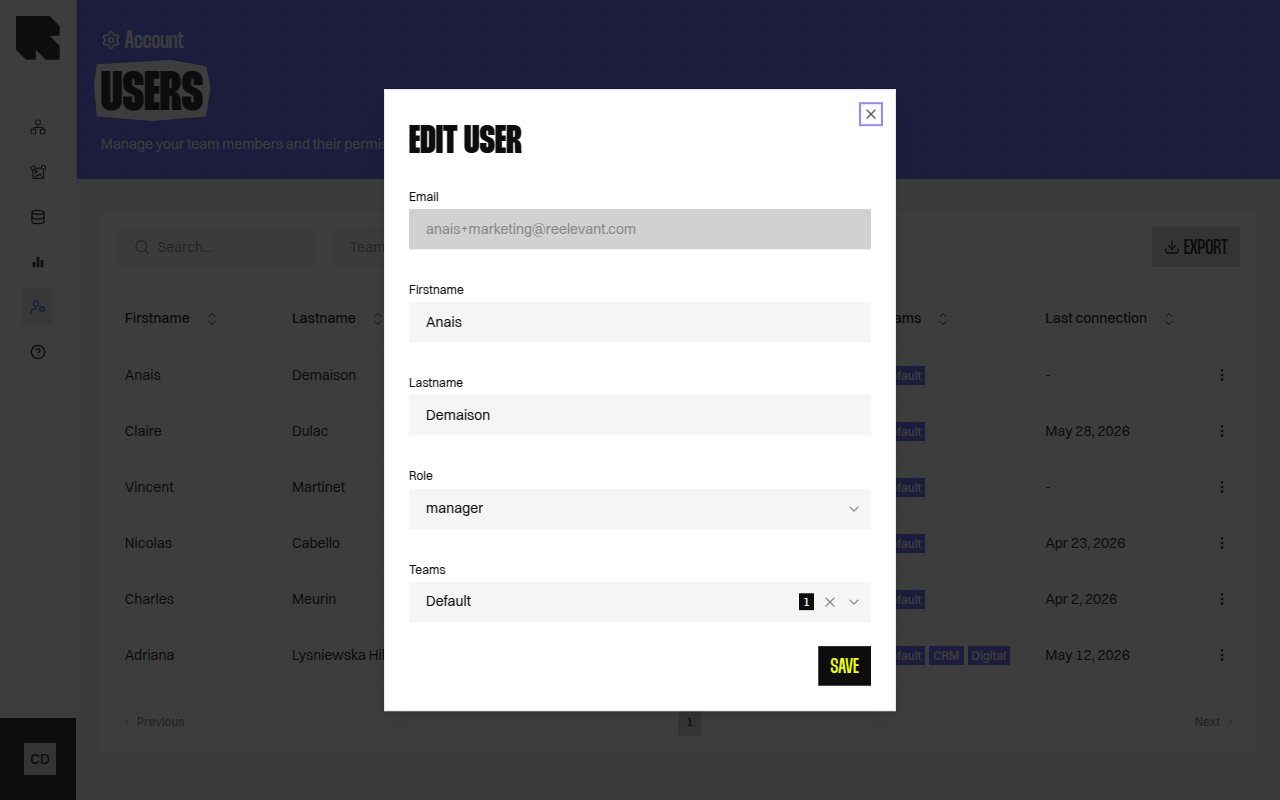 ## Overview
A role is a named set of [permission rules](/product-guide/account/permissions) that controls what a user can do on the platform. Every user is assigned exactly one role. Roles define permissions at the resource-and-action level — for example, "can create workflows" or "can read statistics."
See the [Permissions](/product-guide/account/permissions) page for a complete explanation of how the permission system works, including resource scoping, team constraints, and the full permissions matrix.
## Roles Listing
The Roles page displays all roles configured for your company:
| Column | Description |
| --------------- | ------------------------------------------------ |
| **Name** | The role name. |
| **Users** | Number of users currently assigned to this role. |
| **Permissions** | Total number of permission rules in the role. |
Use the search bar to find roles by name.
## Creating a Role
Click **Create role** in the top-right corner.
Choose a descriptive name that reflects the role's purpose (e.g., "Marketing Editor", "Data Analyst", "Admin").
The permission editor displays a matrix of **resources** (rows) and **actions** (columns). Toggle each checkbox to grant or deny the permission.
Only the actions that are applicable to each resource are shown. For example, **Statistics** only supports **Access** and **Export**, while **Workflow** supports **Create**, **Read**, **Update**, and **Delete**.
See the [Permissions Matrix](/product-guide/account/permissions#permissions-matrix) for the full list of available combinations.
Click **Create** to save the new role. Users assigned to this role will immediately receive the configured permissions.
### Synced Permissions
Some permissions are automatically kept in sync — you do not need to configure them separately:
| Resource Permission | Automatically Grants |
| --------------------------- | ----------------------------------------- |
| **Content** (any action) | The same action on Content Font Resources |
| **Datasource** (any action) | The same action on OAuth Clients |
For example, granting "Create" on Content also grants "Create" on Content Font Resources. These synced permissions are not displayed in the role editor.
### Built-in Rules
Every role automatically includes two rules that cannot be removed:
* **Read own profile** — Every user can view their own user details.
* **Update own profile** — Every user can edit their own name, password, 2FA settings, and preferences.
These rules only apply to the user themselves and do not grant access to other users' profiles.
## Editing a Role
1. Click the actions menu (⋮) on a role row and select **Edit**.
2. Update the role name or toggle permissions in the matrix.
3. Click **Save** to apply.
Changes take effect immediately for all users assigned to this role. Review the impact before saving.
## Deleting a Role
1. Click the actions menu (⋮) and select **Delete**.
2. A confirmation dialog warns that the action is irreversible.
3. Click **Delete** to remove the role.
Deleting a role that is assigned to users will remove those permissions. Reassign affected users to another role before deleting.
## Exporting Roles
Click the **Export CSV** button in the toolbar to download a CSV file containing all roles and their permission rules. The export includes:
| Column | Description |
| -------------- | ---------------------------------------- |
| **Role name** | The role's name. |
| **Resource** | The resource type. |
| **Action** | The action (create, read, update, etc.). |
| **Conditions** | Any additional conditions on the rule. |
| **Must Match** | The scoping constraints (company, team). |
## Overview
A role is a named set of [permission rules](/product-guide/account/permissions) that controls what a user can do on the platform. Every user is assigned exactly one role. Roles define permissions at the resource-and-action level — for example, "can create workflows" or "can read statistics."
See the [Permissions](/product-guide/account/permissions) page for a complete explanation of how the permission system works, including resource scoping, team constraints, and the full permissions matrix.
## Roles Listing
The Roles page displays all roles configured for your company:
| Column | Description |
| --------------- | ------------------------------------------------ |
| **Name** | The role name. |
| **Users** | Number of users currently assigned to this role. |
| **Permissions** | Total number of permission rules in the role. |
Use the search bar to find roles by name.
## Creating a Role
Click **Create role** in the top-right corner.
Choose a descriptive name that reflects the role's purpose (e.g., "Marketing Editor", "Data Analyst", "Admin").
The permission editor displays a matrix of **resources** (rows) and **actions** (columns). Toggle each checkbox to grant or deny the permission.
Only the actions that are applicable to each resource are shown. For example, **Statistics** only supports **Access** and **Export**, while **Workflow** supports **Create**, **Read**, **Update**, and **Delete**.
See the [Permissions Matrix](/product-guide/account/permissions#permissions-matrix) for the full list of available combinations.
Click **Create** to save the new role. Users assigned to this role will immediately receive the configured permissions.
### Synced Permissions
Some permissions are automatically kept in sync — you do not need to configure them separately:
| Resource Permission | Automatically Grants |
| --------------------------- | ----------------------------------------- |
| **Content** (any action) | The same action on Content Font Resources |
| **Datasource** (any action) | The same action on OAuth Clients |
For example, granting "Create" on Content also grants "Create" on Content Font Resources. These synced permissions are not displayed in the role editor.
### Built-in Rules
Every role automatically includes two rules that cannot be removed:
* **Read own profile** — Every user can view their own user details.
* **Update own profile** — Every user can edit their own name, password, 2FA settings, and preferences.
These rules only apply to the user themselves and do not grant access to other users' profiles.
## Editing a Role
1. Click the actions menu (⋮) on a role row and select **Edit**.
2. Update the role name or toggle permissions in the matrix.
3. Click **Save** to apply.
Changes take effect immediately for all users assigned to this role. Review the impact before saving.
## Deleting a Role
1. Click the actions menu (⋮) and select **Delete**.
2. A confirmation dialog warns that the action is irreversible.
3. Click **Delete** to remove the role.
Deleting a role that is assigned to users will remove those permissions. Reassign affected users to another role before deleting.
## Exporting Roles
Click the **Export CSV** button in the toolbar to download a CSV file containing all roles and their permission rules. The export includes:
| Column | Description |
| -------------- | ---------------------------------------- |
| **Role name** | The role's name. |
| **Resource** | The resource type. |
| **Action** | The action (create, read, update, etc.). |
| **Conditions** | Any additional conditions on the rule. |
| **Must Match** | The scoping constraints (company, team). |