> ## Documentation Index
> Fetch the complete documentation index at: https://docs.reelevant.com/llms.txt
> Use this file to discover all available pages before exploring further.
# Creating a Datasource
> Step-by-step guide to creating and configuring a new datasource
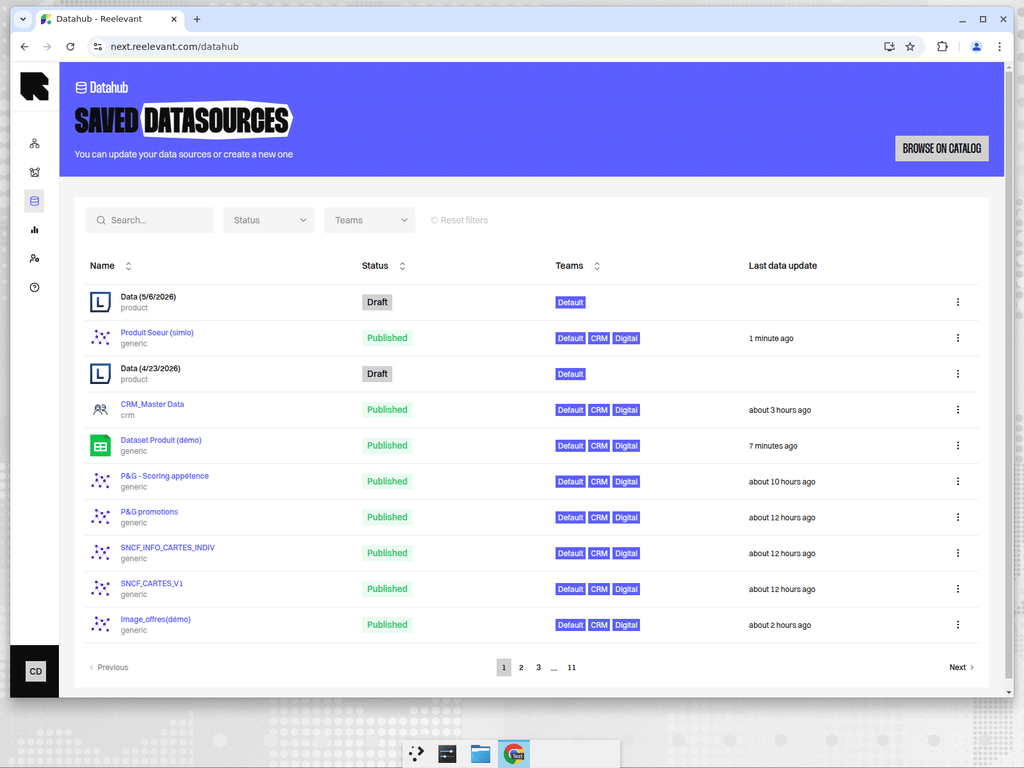 ## Creation Wizard
When you click **Connect** on a [catalog](/product-guide/datahub/catalog) card, the creation wizard guides you through the setup process. The steps vary depending on the datasource type, but follow this general flow:
Enter a name for your datasource. The name appears in the [listing](/product-guide/datahub/listing) and in the datasource picker when connecting to [workflows](/product-guide/workflows/overview) or [content templates](/product-guide/contents/data-binding).
Choose a descriptive name — it helps you and your team find the right datasource quickly.
Select and configure the data source. The available options depend on the integration type. See [Source Types](/advanced-guide/datahub/source-types) for details on each connector.
Map the raw fields from your data to standardized Reelevant field types. See [Field Mapping](/advanced-guide/datahub/field-mapping) for details.
Set additional field properties:
* **Locale** — The locale for the data source (if applicable).
* **Located in** — For location datasources, select the country or "specified for each entry" for multi-country data.
Select the team that owns this datasource. Your team is assigned by default.
Optionally place the datasource within a folder hierarchy for organization.
Review the configuration and click **Validate** to create the datasource. The platform will begin importing and processing the data.
## Additional Configuration Steps
Depending on the datasource type, you may encounter additional steps:
| Step | When it appears |
| --------------------------------- | ----------------------------------------------------------------------------------------------- |
| **Configure an API Key** | For integrations requiring API key authentication (e.g., Partoo). |
| **Authorize Reelevant access** | For OAuth-based integrations (e.g., Shopify, Google My Business, Instagram). |
| **Setup Google Tag Manager** | For the GTM integration — provides the snippet and IDs to configure in GTM. |
| **Configure Reelevant Script** | For the website events integration — provides the tracking snippet. |
| **Configure product datasource** | For Best Products and Top attributes — select the source product datasource. |
| **Configure tracking datasource** | For Best Products — select the analytics datasource for tracking events. |
| **Configure merge mapping** | For merged datasources — define which fields match between the main and dependency datasources. |
| **Configure cross sell** | For bought-together datasources — configure the product reference field and purchase event. |
| **Define Best Product field** | Select the field where the computed count should be stored. |
## Editing a Datasource
After creation, you can edit any step of the configuration:
1. Open the datasource from the [listing page](/product-guide/datahub/listing).
2. Click **Edit** to open the step selector.
3. Select the step you want to change.
4. Make your modifications and click **Validate** to save.
If the datasource was recently updated, saving your changes will overwrite the latest data. You can choose to **Cancel my changes** or **Save anyway**.
## Creation Wizard
When you click **Connect** on a [catalog](/product-guide/datahub/catalog) card, the creation wizard guides you through the setup process. The steps vary depending on the datasource type, but follow this general flow:
Enter a name for your datasource. The name appears in the [listing](/product-guide/datahub/listing) and in the datasource picker when connecting to [workflows](/product-guide/workflows/overview) or [content templates](/product-guide/contents/data-binding).
Choose a descriptive name — it helps you and your team find the right datasource quickly.
Select and configure the data source. The available options depend on the integration type. See [Source Types](/advanced-guide/datahub/source-types) for details on each connector.
Map the raw fields from your data to standardized Reelevant field types. See [Field Mapping](/advanced-guide/datahub/field-mapping) for details.
Set additional field properties:
* **Locale** — The locale for the data source (if applicable).
* **Located in** — For location datasources, select the country or "specified for each entry" for multi-country data.
Select the team that owns this datasource. Your team is assigned by default.
Optionally place the datasource within a folder hierarchy for organization.
Review the configuration and click **Validate** to create the datasource. The platform will begin importing and processing the data.
## Additional Configuration Steps
Depending on the datasource type, you may encounter additional steps:
| Step | When it appears |
| --------------------------------- | ----------------------------------------------------------------------------------------------- |
| **Configure an API Key** | For integrations requiring API key authentication (e.g., Partoo). |
| **Authorize Reelevant access** | For OAuth-based integrations (e.g., Shopify, Google My Business, Instagram). |
| **Setup Google Tag Manager** | For the GTM integration — provides the snippet and IDs to configure in GTM. |
| **Configure Reelevant Script** | For the website events integration — provides the tracking snippet. |
| **Configure product datasource** | For Best Products and Top attributes — select the source product datasource. |
| **Configure tracking datasource** | For Best Products — select the analytics datasource for tracking events. |
| **Configure merge mapping** | For merged datasources — define which fields match between the main and dependency datasources. |
| **Configure cross sell** | For bought-together datasources — configure the product reference field and purchase event. |
| **Define Best Product field** | Select the field where the computed count should be stored. |
## Editing a Datasource
After creation, you can edit any step of the configuration:
1. Open the datasource from the [listing page](/product-guide/datahub/listing).
2. Click **Edit** to open the step selector.
3. Select the step you want to change.
4. Make your modifications and click **Validate** to save.
If the datasource was recently updated, saving your changes will overwrite the latest data. You can choose to **Cancel my changes** or **Save anyway**.