Accessing Workflow Settings
Open the Workflows application from the sidebar, then navigate to the Settings page. The settings page has three tabs:- Branch categories — Manage your branch category hierarchy.
- Variable profiles — Configure reusable URL parameter templates.
- JSON Templates — Define and manage JSON output templates for headless integrations.
Branch Categories
The branch categories section is a hierarchical tree of categories used to qualify branches across all your workflows. It provides a shared vocabulary for your team and powers analytics filtering by category.Viewing the Category Tree
The Branch categories tab displays your category tree as an interactive, expandable hierarchy. Each category shows:- Name — The category label.
- Level — Its depth in the tree.
- Children — Sub-categories nested underneath.
Creating a Category
Fill in the details
- Name — A descriptive name for the category (e.g., “Product Recommendation”).
- Parent — Optionally select a parent category to nest this one underneath.
Editing a Category
Click on an existing category in the tree to open the edit drawer. You can update the name or move it under a different parent.Deleting a Category
- Select the category in the tree.
- Click the Delete button.
- Confirm the deletion in the confirmation modal.
Best Practices
- Design for analytics — Structure your category tree around the dimensions you want to analyze (e.g., by strategy type, by content category, by audience segment).
- Keep it flat enough — A deep tree is harder to navigate. Aim for 2-3 levels at most.
- Name clearly — Use descriptive names that any team member can understand without context.
Variable Profiles
Variable profiles are reusable templates of URL parameters that get applied during workflow integration. They save time when you have a standard set of tracking parameters (UTM tags, user identifiers, etc.) used across multiple workflows.Viewing Profiles
The variable profiles tab displays a table of all configured profiles with their names and parameters.Creating a Variable Profile
Configure the profile
- Name — A descriptive name (e.g., “Standard Email Tracking”, “Web Campaign UTM”).
- Parameters — Define the URL parameters included in this profile:
- Parameter name — The URL query parameter key (e.g.,
utm_source,user_id). - Default value — An optional default value for the parameter.
- Parameter name — The URL query parameter key (e.g.,
Editing a Profile
Click on a profile in the table to open the edit drawer. Update the name or parameters as needed.Deleting a Profile
- Click the Delete action on the profile row.
- Confirm the deletion.
Deleting a variable profile does not affect already-deployed workflow integrations. However, future integrations will no longer be able to select this profile.
Tips
- Create separate profiles for different channels (email vs. web) since they typically use different tracking parameters.
- Standardize parameter names across your team to ensure consistent analytics data.
- Variable profiles complement URL Parameter nodes in workflows — the profile provides the parameter structure, and the URL Parameter node reads the value at runtime.
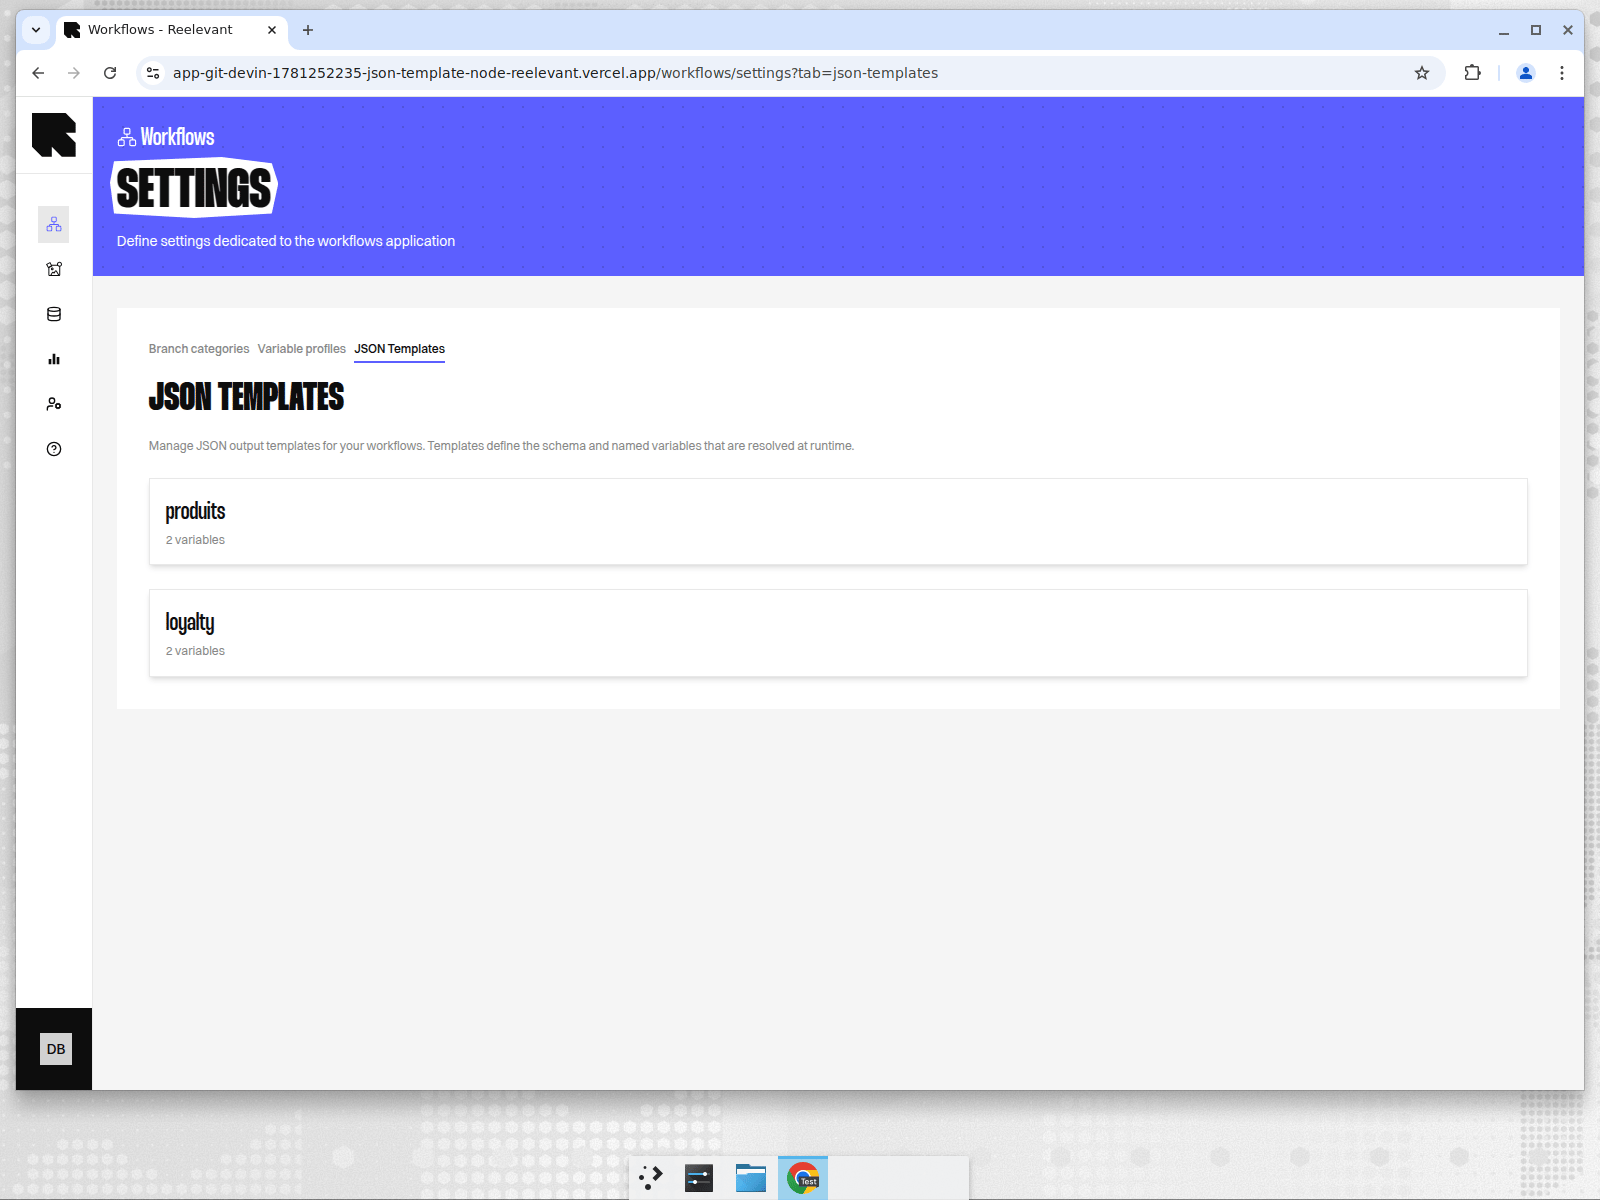
JSON Templates
This section is intended for engineering and contract teams who define the API schema. Marketing teams use the resulting templates in the workflow editor — see JSON Template output node for usage instructions.
Why Use JSON Templates?
JSON Templates separate schema definition from data binding:- Engineering defines the shape (what fields exist, which are static, which are dynamic variables).
- Marketing decides what data fills each variable by connecting datasource fields in the workflow.
Viewing Templates
The JSON Templates tab displays all configured templates with their name and variable count. Click a template to open its edit drawer.Creating a Template
Open the creation form
Click the Create button in the top-right corner of the JSON Templates tab. A drawer opens on the right.
Assign resource groups
Select one or more resource groups (teams) that should have access to this template. This controls visibility — only workflows belonging to matching teams will see this template in their node configuration.
Define the JSON schema
Use the JSON editor to write the template definition. Each field is a key-value pair where the value describes how it will be resolved:At runtime, static values are returned as-is and dependency values are replaced with real data from the bound datasource.
- Static fields —
{ "type": "static", "value": <default> }— Hardcoded values that never change at runtime. - Dependency fields —
{ "type": "dependency", "variable": "<variableName>" }— Dynamic slots bound to datasource fields by the marketing team.
Configure variables
For each dependency field in the definition, add a variable entry:
- Name — Must exactly match the
variablevalue in the definition (e.g.,productName). - Description — Optional; helps marketing understand what the variable represents.
- Is Array — Toggle on if this variable should retrieve all values from the datasource (e.g., a list of products). Leave off for scalar values (e.g., a single loyalty score).
Editing a Template
Click on a template in the list to open its edit drawer. You can update the name, JSON definition, and variables. Changes take effect on the next publish of any workflow using this template.Deleting a Template
- Open the template’s edit drawer.
- Click the Delete button.
- Confirm the deletion in the modal.
JSON Definition Best Practices
- Keep it flat when possible. Nested objects are supported but flat schemas are easier for frontend teams to consume.
- Use meaningful key names. Keys like
productName,loyaltyScore,recommendedItemsare self-documenting. - Provide realistic static defaults. Use values that reflect the expected type (e.g.,
{ "type": "static", "value": "default text" }for strings,{ "type": "static", "value": 0 }for numbers). - Document the contract externally. Share the runtime output shape (with variables resolved) with your frontend/mobile team so they can build typed clients against it.
Variable Configuration
Each variable represents a dynamic slot in the JSON payload:| Property | Description |
|---|---|
| Name | Must exactly match a key in the JSON definition. Case-sensitive. |
| Description | Human-readable explanation shown to marketing in the workflow editor. |
| Is Array | When enabled, the engine uses automatic mapping to iterate over all datasource rows. When disabled, it retrieves a single value. |
Publish Validation
When a workflow with JSON Template output nodes is published, the system validates:- Template exists — The referenced template ID must point to an existing template.
- Cross-branch consistency — All JSON Template nodes across all branches must reference the same template. This ensures every branch produces the same JSON shape.