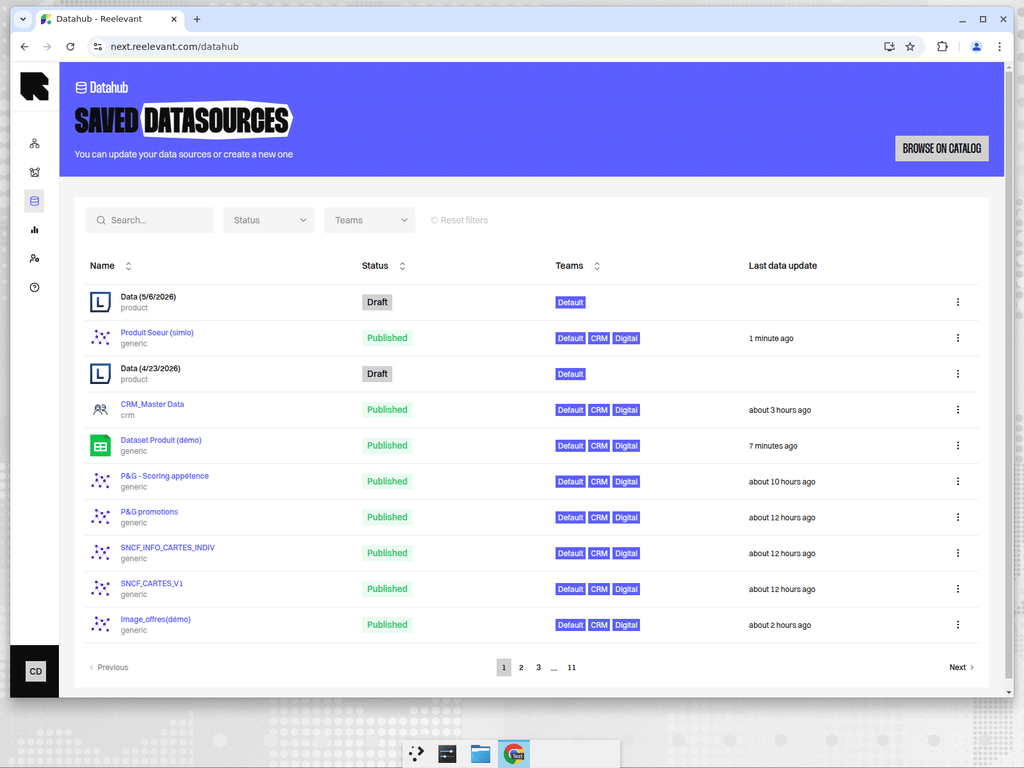
Creation Wizard
When you click Connect on a catalog card, the creation wizard guides you through the setup process. The steps vary depending on the datasource type, but follow this general flow:Choose datasource name
Enter a name for your datasource. The name appears in the listing and in the datasource picker when connecting to workflows or content templates.
Configure sources
Select and configure the data source. The available options depend on the integration type. See Source Types for details on each connector.
Fields mapping
Map the raw fields from your data to standardized Reelevant field types. See Field Mapping for details.
Configure fields
Set additional field properties:
- Locale — The locale for the data source (if applicable).
- Located in — For location datasources, select the country or “specified for each entry” for multi-country data.
Assign to a team
Select the resource group (team) that owns this datasource. Your team is assigned by default.
Additional Configuration Steps
Depending on the datasource type, you may encounter additional steps:| Step | When it appears |
|---|---|
| Configure an API Key | For integrations requiring API key authentication (e.g., Partoo). |
| Authorize Reelevant access | For OAuth-based integrations (e.g., Shopify, Google My Business, Instagram). |
| Setup Google Tag Manager | For the GTM integration — provides the snippet and IDs to configure in GTM. |
| Configure Reelevant Script | For the website events integration — provides the tracking snippet. |
| Configure product datasource | For Best Products and Top attributes — select the source product datasource. |
| Configure tracking datasource | For Best Products — select the analytics datasource for tracking events. |
| Configure merge mapping | For merged datasources — define which fields match between the main and dependency datasources. |
| Configure cross sell | For bought-together datasources — configure the product reference field and purchase event. |
| Define Best Product field | Select the field where the computed count should be stored. |
Editing a Datasource
After creation, you can edit any step of the configuration:- Open the datasource from the listing page.
- Click Edit to open the step selector.
- Select the step you want to change.
- Make your modifications and click Validate to save.