Overview
The Content Settings page lets you manage resources that are shared across all your content templates. Access it from the Settings link in the Content Editor sidebar navigation.Fonts
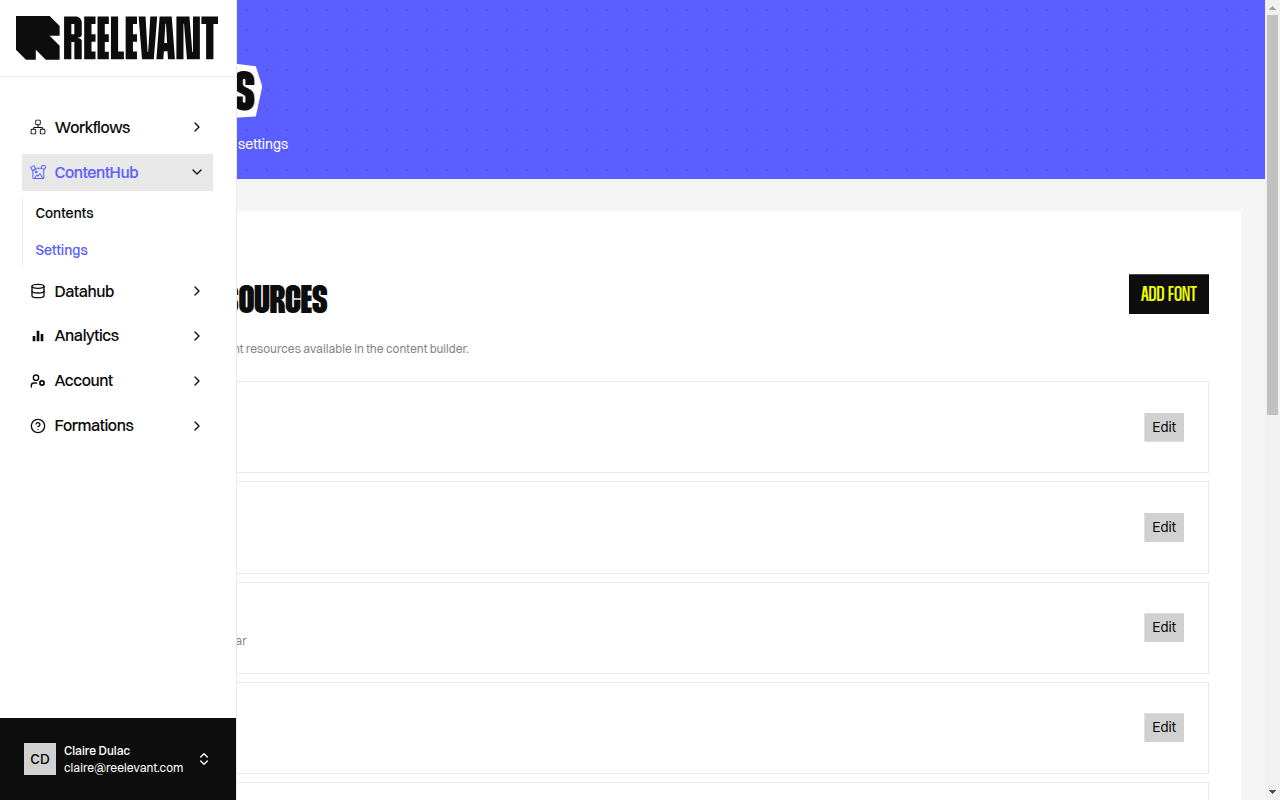
The Fonts tab lets you manage custom font resources available in the content builder. Custom fonts appear alongside system fonts in the Text component font family picker.Font Listing
The fonts table displays all registered custom fonts. If no fonts have been added, the page shows “No fonts yet. Add your first font resource.”Adding a Font
Enter the font family name
Type the Font family name (e.g., “My Custom Font”). This is the name that will appear in the font picker.
Add font files
Under Font files, add one entry per font variant:
Click Add variant to add additional weight variants.
| Field | Description |
|---|---|
| Variant | Select the weight variant (e.g., Regular, Bold, Italic). |
| Font file | Upload a font file (.ttf, .otf, .woff, .woff2). |
Editing a Font
Click the Edit button next to an existing font to update its family name or add/remove variants.At least one font file variant is required per font family.