

Beta — Image Composition is in beta and only available to technical administrators. Its options can still change. Ask your Technical Account Manager if you cannot see it in the toolbar.
Overview
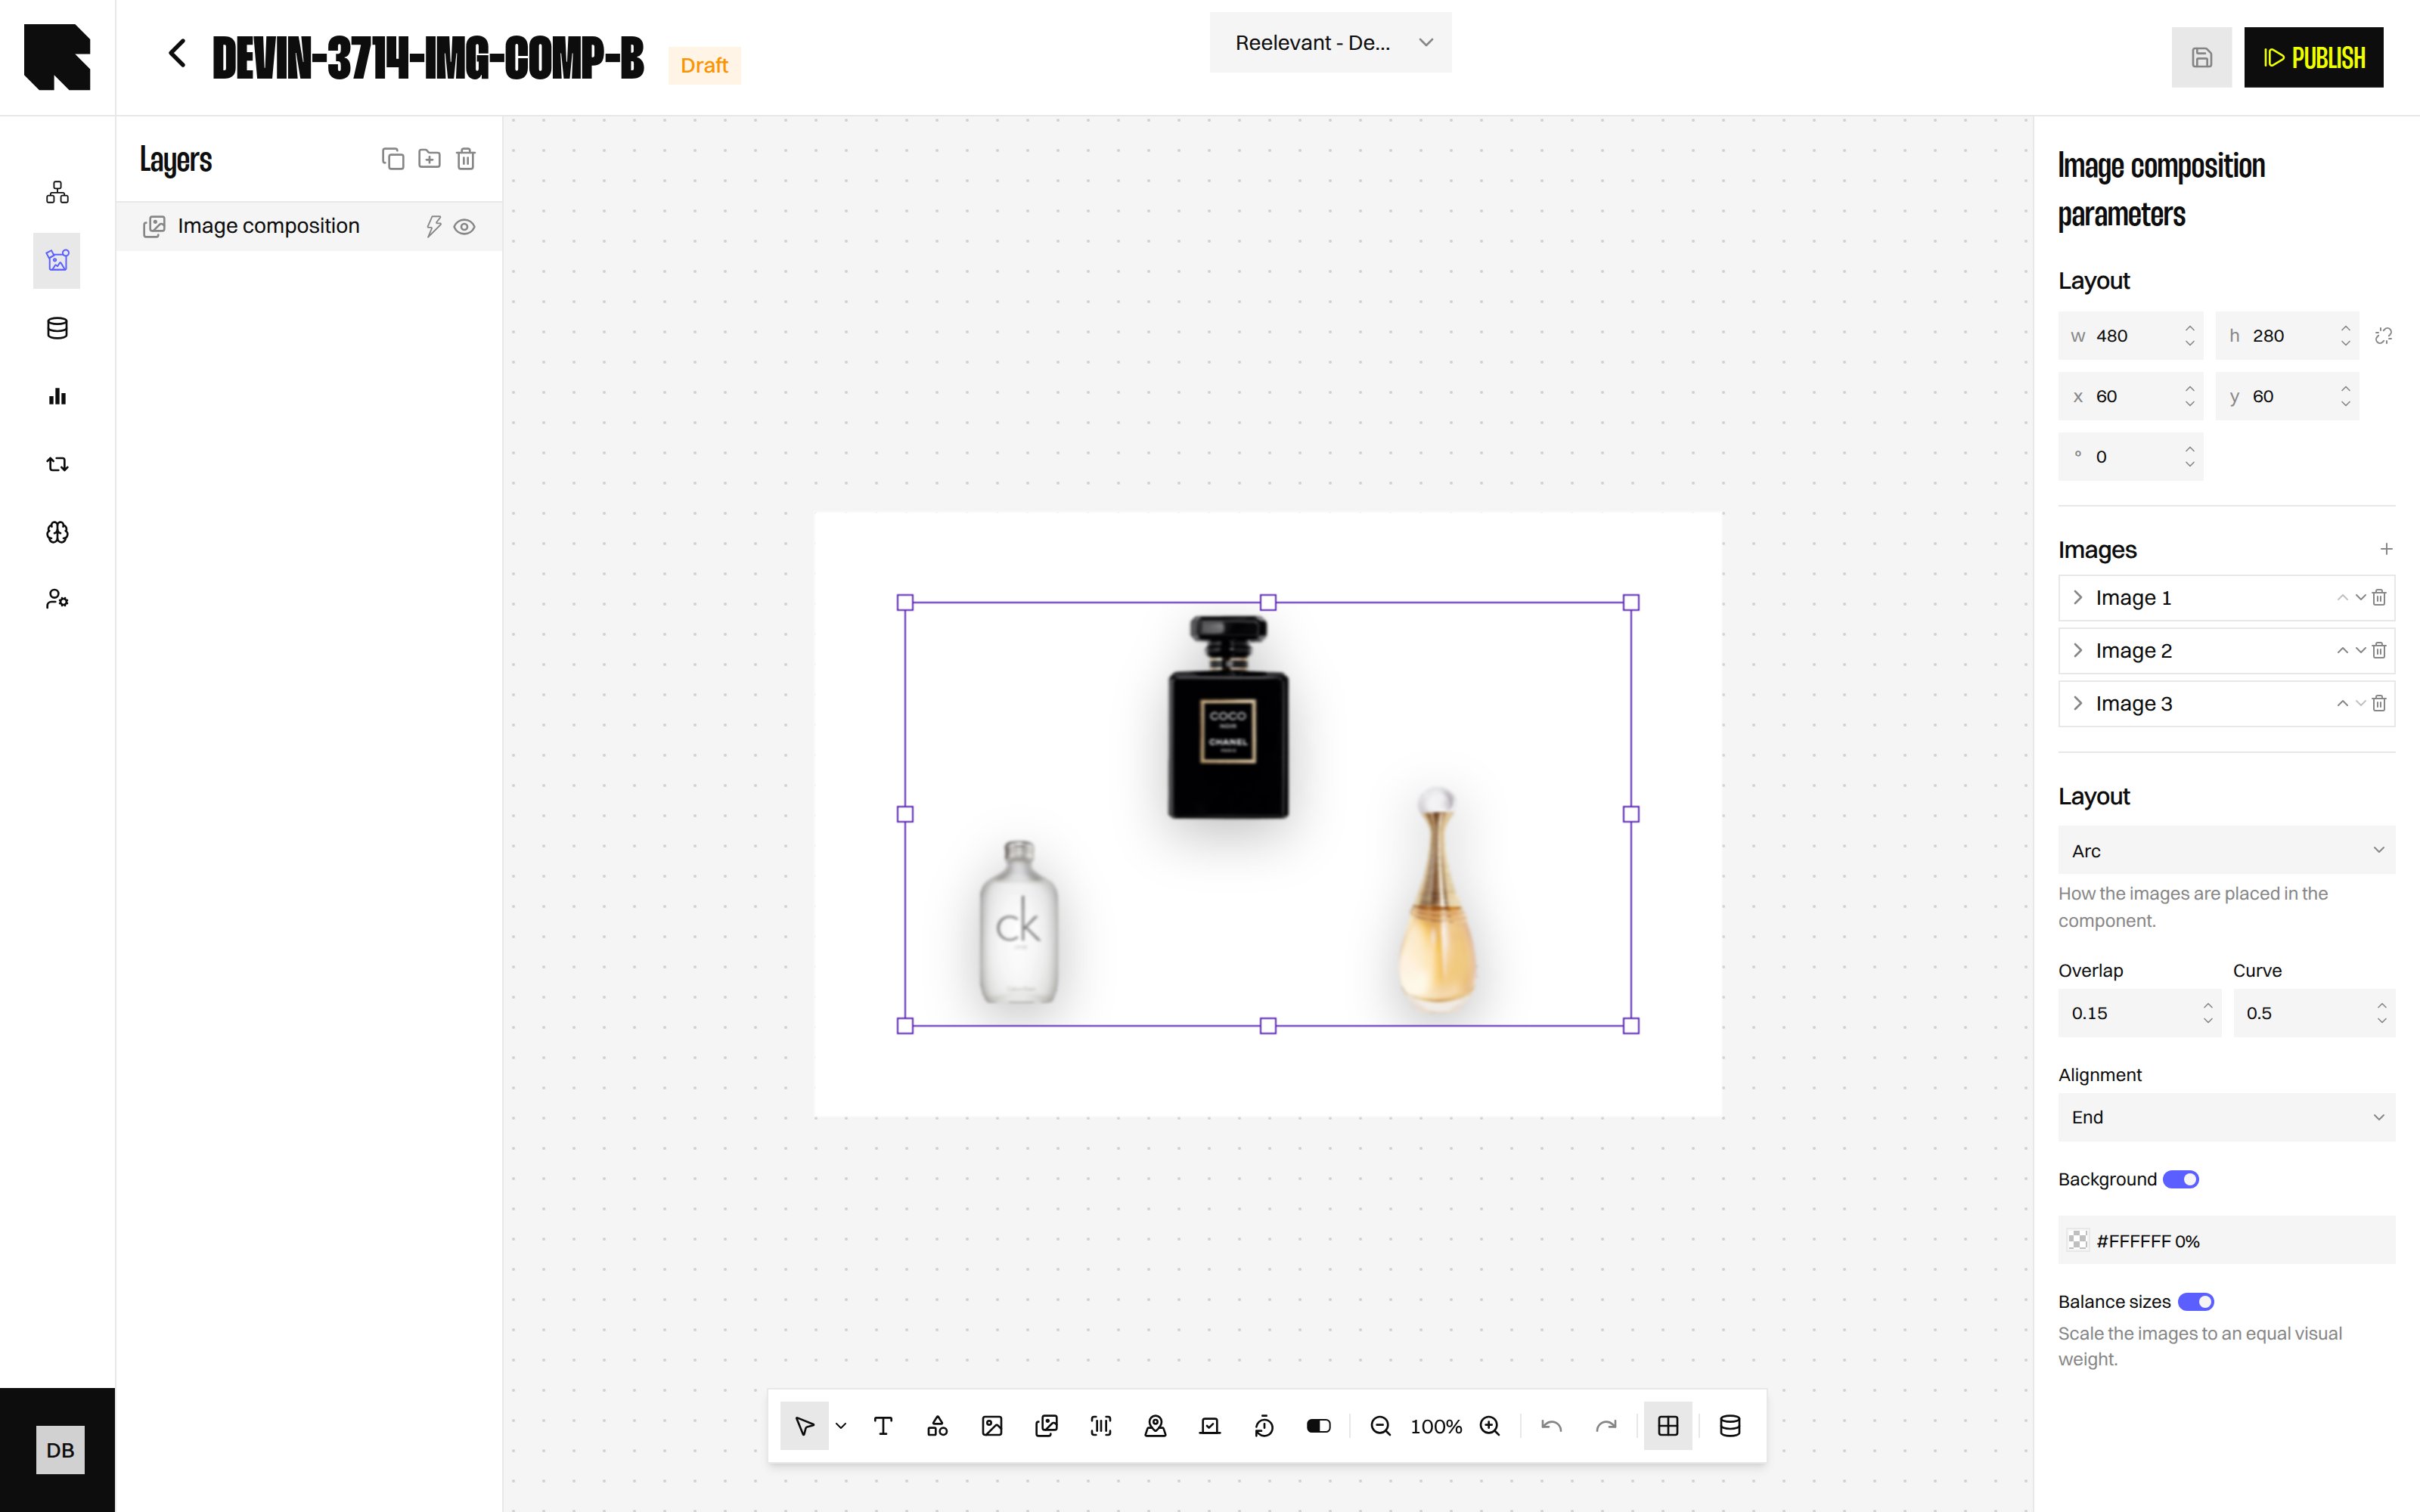
A classic Image component shows one picture. Image Composition takes a list of images and assembles them into one visual for you. Each image can come from an upload, a URL, or a Datasource variable. That means the composition changes per recipient, for example the three products someone browsed.Adding Images
1
Insert the component
In the Content Editor, choose Image composition in the toolbar, then draw it on the canvas.
2
Add your images
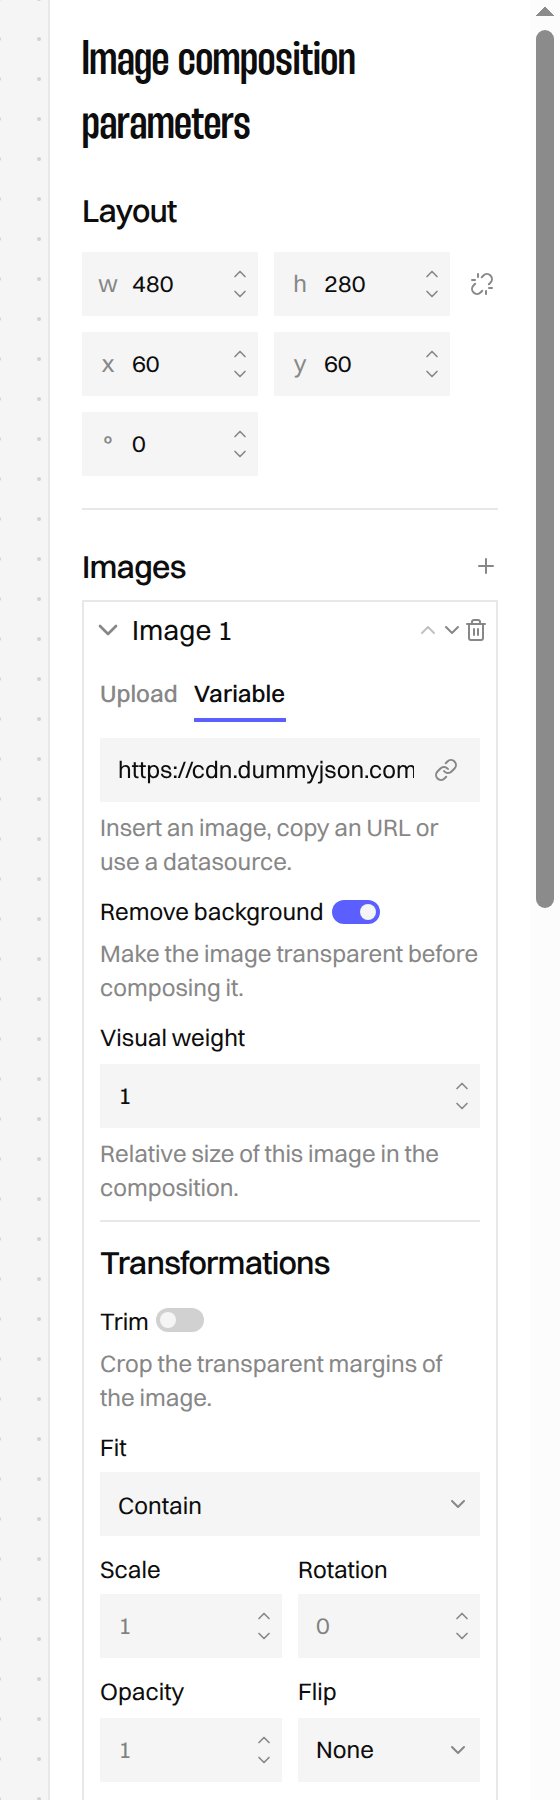
In the Images section of the configuration panel, use Add an image for each image you want.
3
Choose where each image comes from
Open an image and set its source: upload a file, paste a URL, or pick a Datasource variable holding an image address.
4
Order them
Use Move image backward and Move image forward to control which image overlaps which.
Removing the Background
Remove background makes an image transparent before it is composed. It is the option that turns ordinary catalogue packshots into products that sit naturally side by side. The platform does this for you, keeps the result, and reuses it the next time the same image is composed. Packaging, labels, brands and colours are preserved — only the background is removed.Transforming Each Image
Each image has its own Transformations and Adjustments, so you can make a small product stand out next to a large one.
Adjustments cover Brightness, Contrast, Saturation, Grayscale, Blur and Tint, so images from different catalogues can be harmonised.
Choosing a Layout
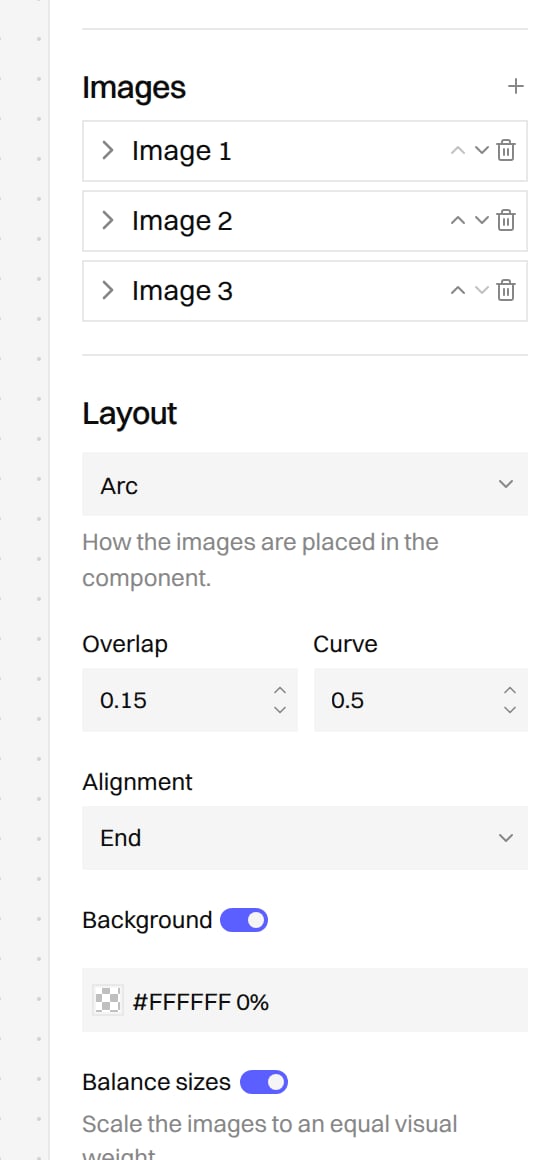
Two switches finish the composition:
- Background adds a colour behind the images, useful once backgrounds are removed.
- Balance sizes scales the images to an equal visual weight, so a small bottle is not dwarfed by a large box.
Previewing the Result
The composition is built for you and shown directly on the canvas, so you see the final visual while you edit. Changing a layout, a colour or a transformation repaints the preview.What’s Next?
Image Component
Add a single static or data-bound image.
Data Binding
Feed each image from a Datasource variable.
Conditions
Show the composition only to the right audience.
All Components
Explore the other component types.