

Overview
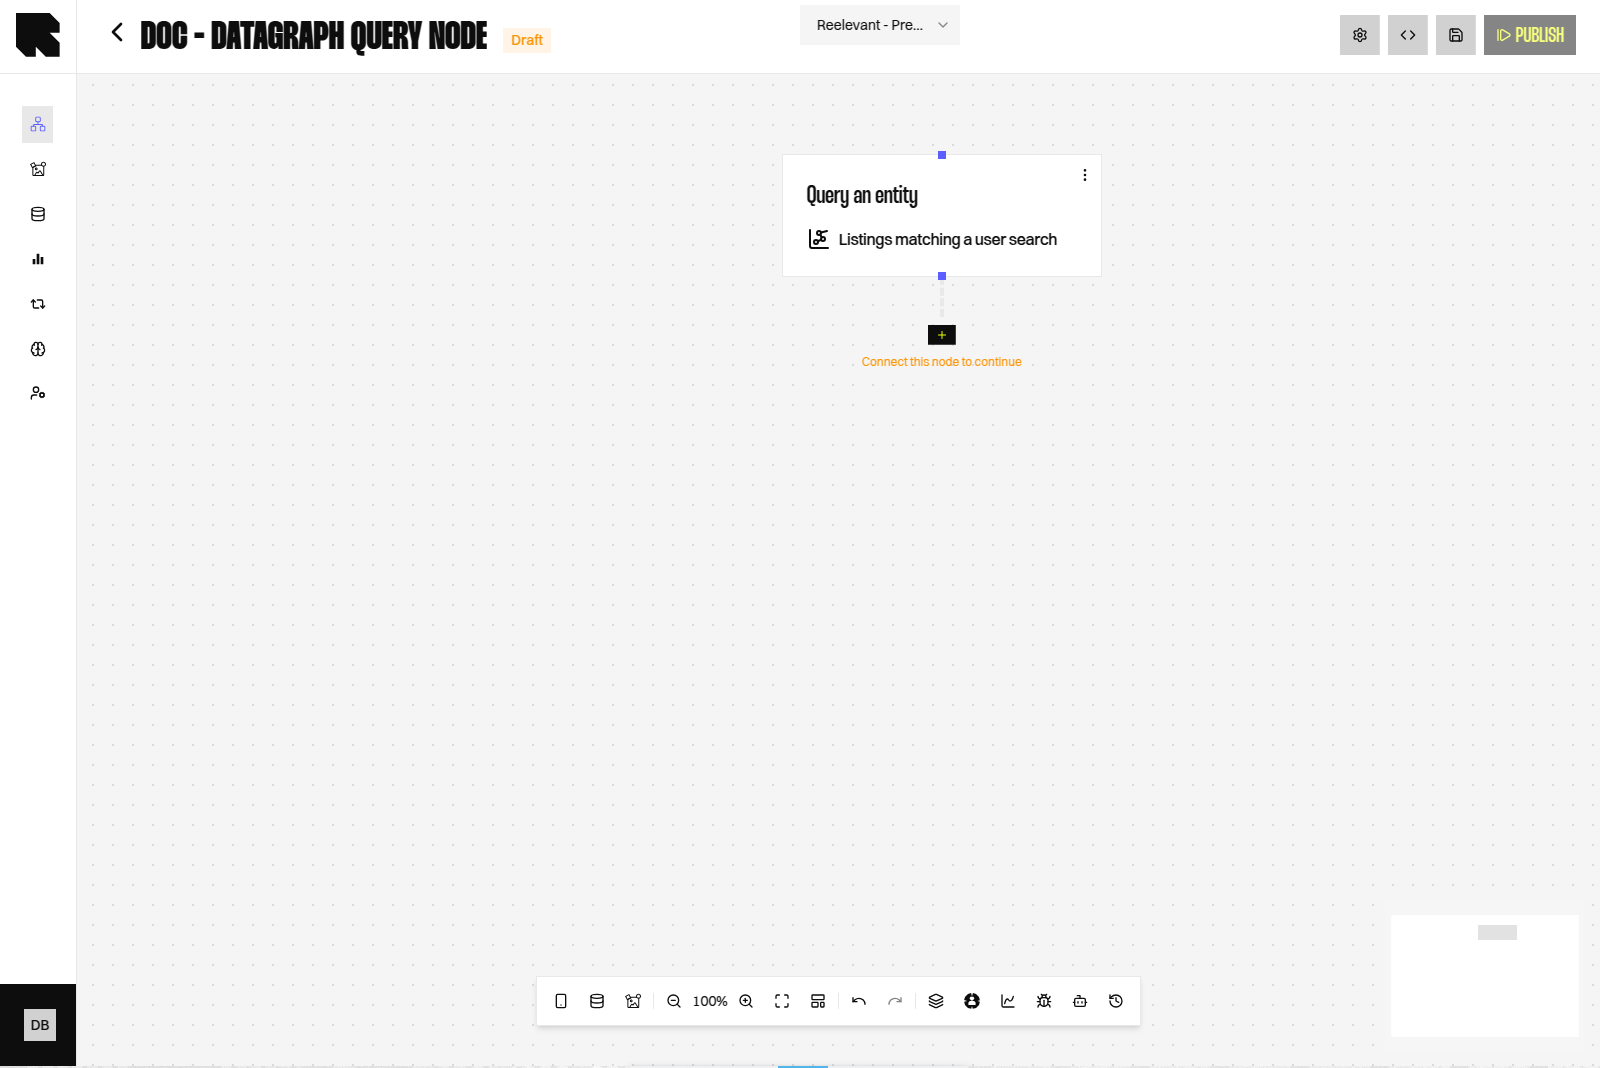
The Query an entity Data Node (a Node that fetches external data for the Workflow) runs a published Datagraph Entity. It then makes the returned rows available to the Nodes that follow. Use it when the data you need lives in several Datasources at once. The Datagraph Entity already joins them for you, so your Workflow simply asks for the answer.Adding the Node
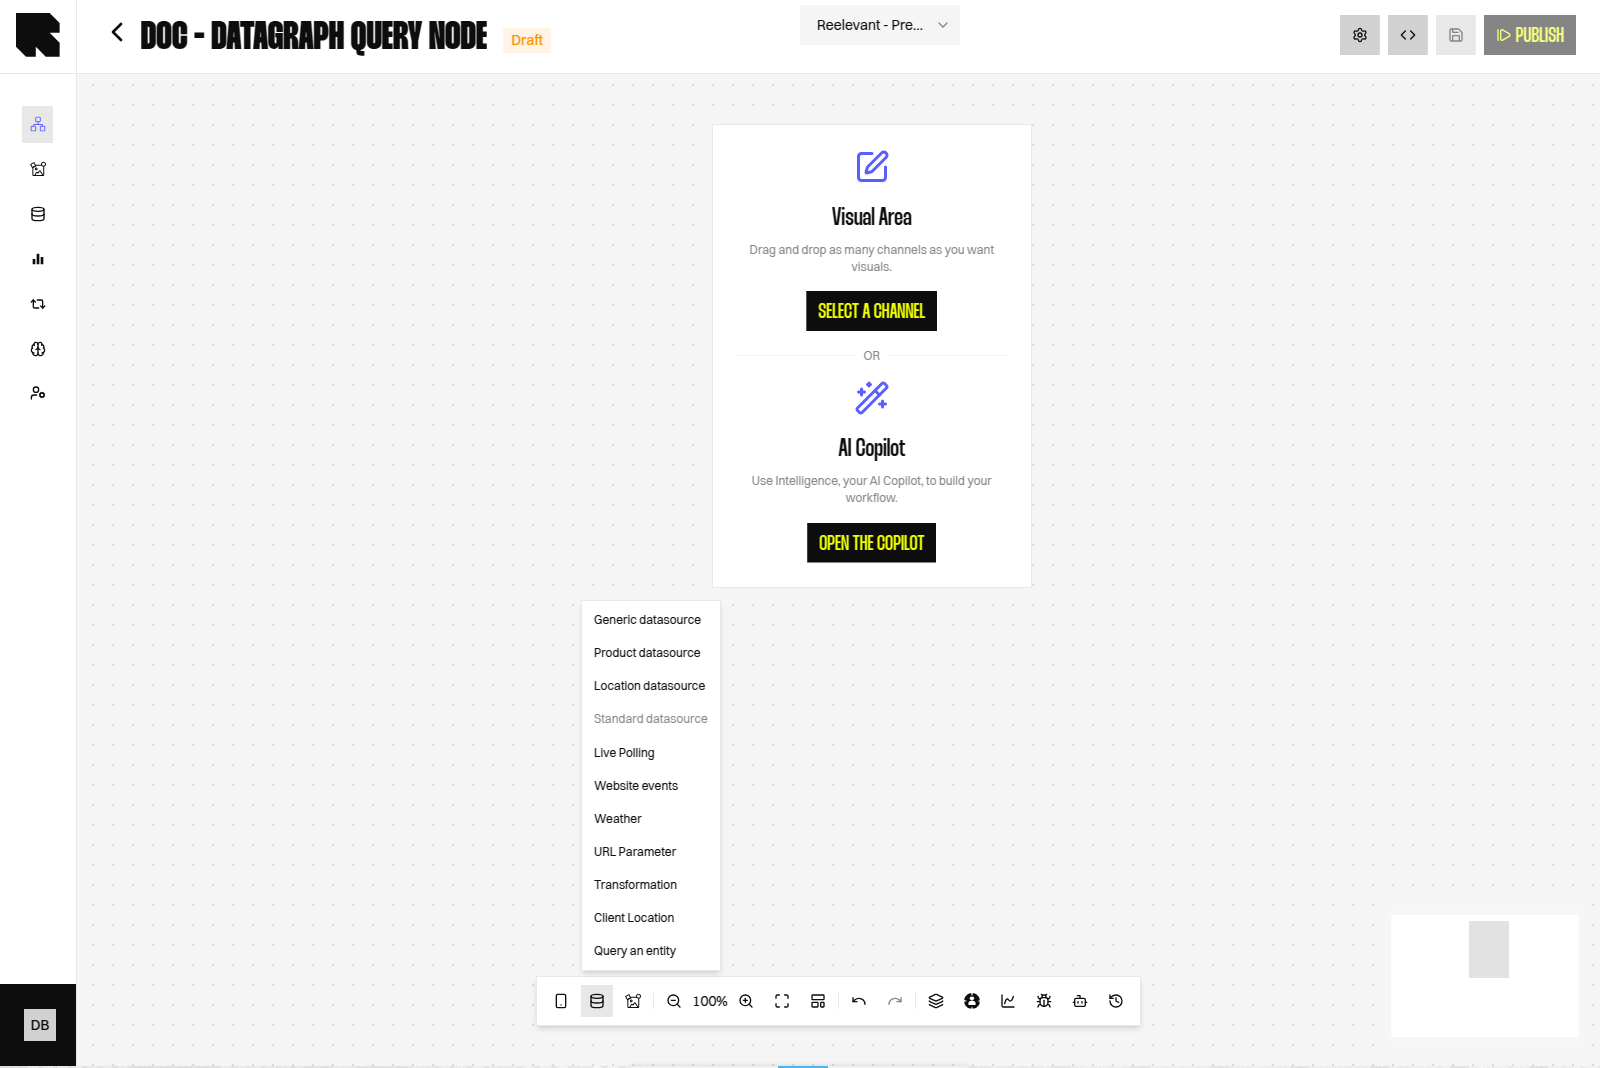
- Open your Workflow in the Workflow editor.
- Hover over the Data button (database icon) in the bottom toolbar.
- Click Query an entity.
Configuring the Node
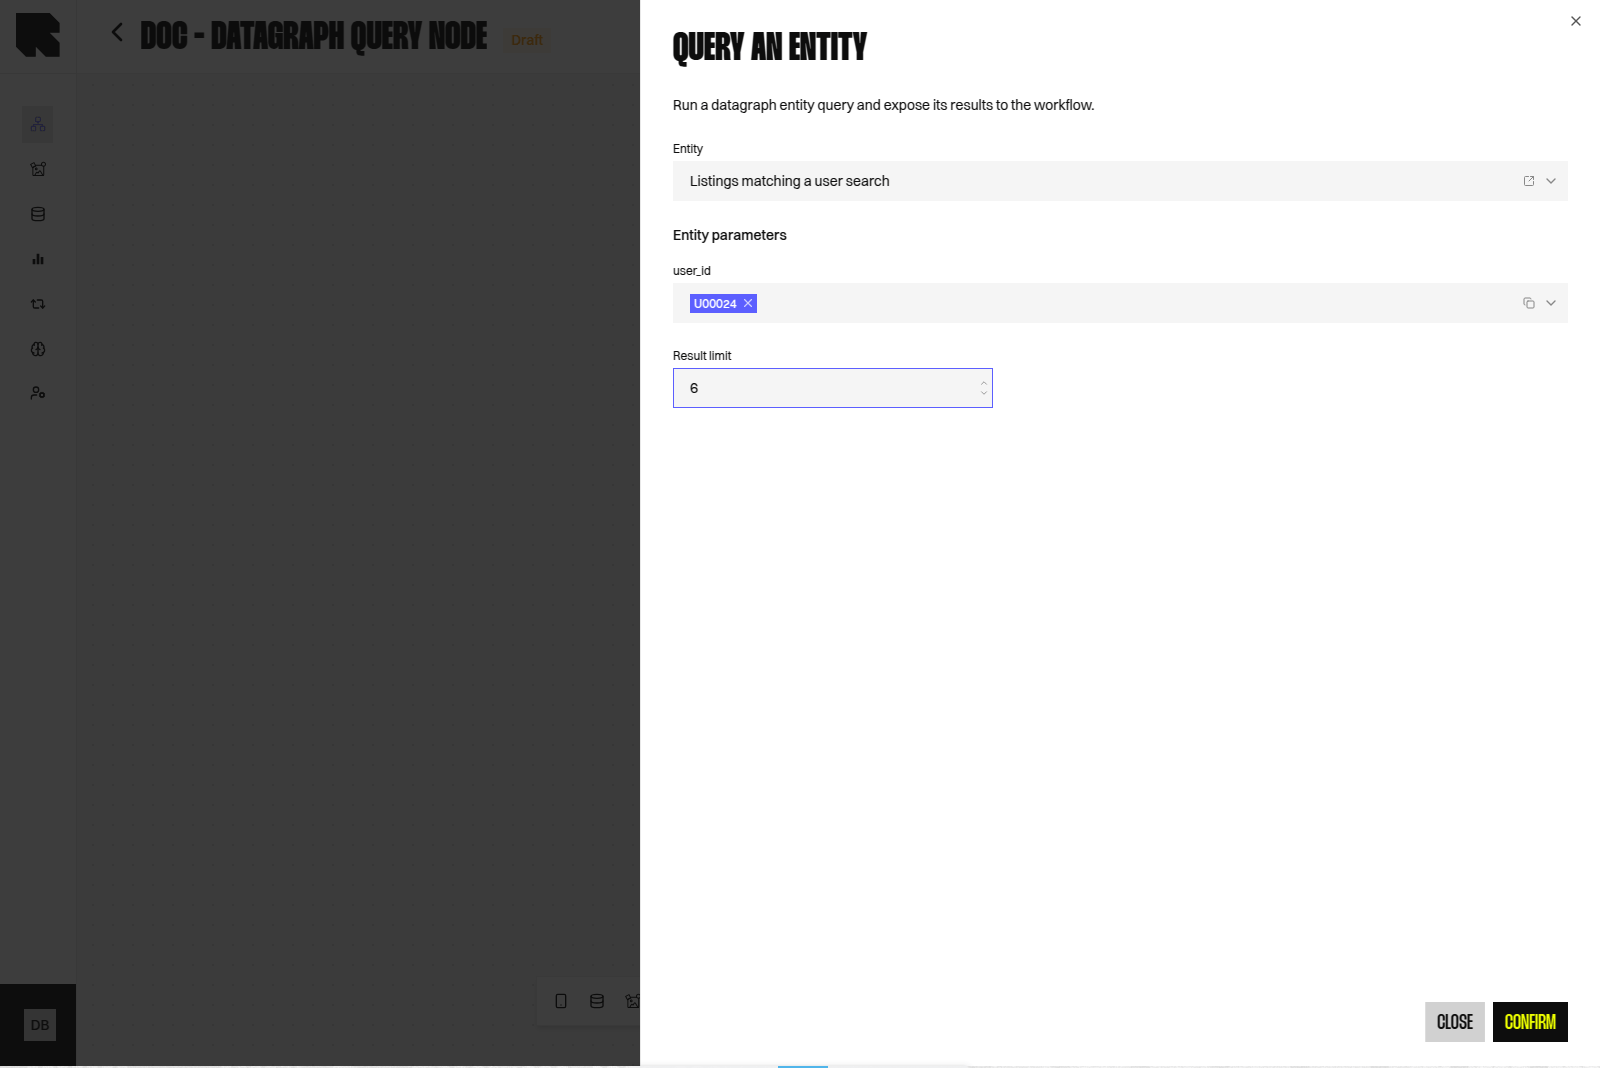
- Pick the Entity you need. Only published Entities appear in the list.
- Fill in each field under Entity parameters. The fields change with the Entity you picked.
- Set a Result limit to cap how many rows the Node returns.
- Click Confirm.
Entity Parameters
Each parameter accepts either a fixed value you type yourself, or a value coming from the Workflow. Use the picker to choose between the two.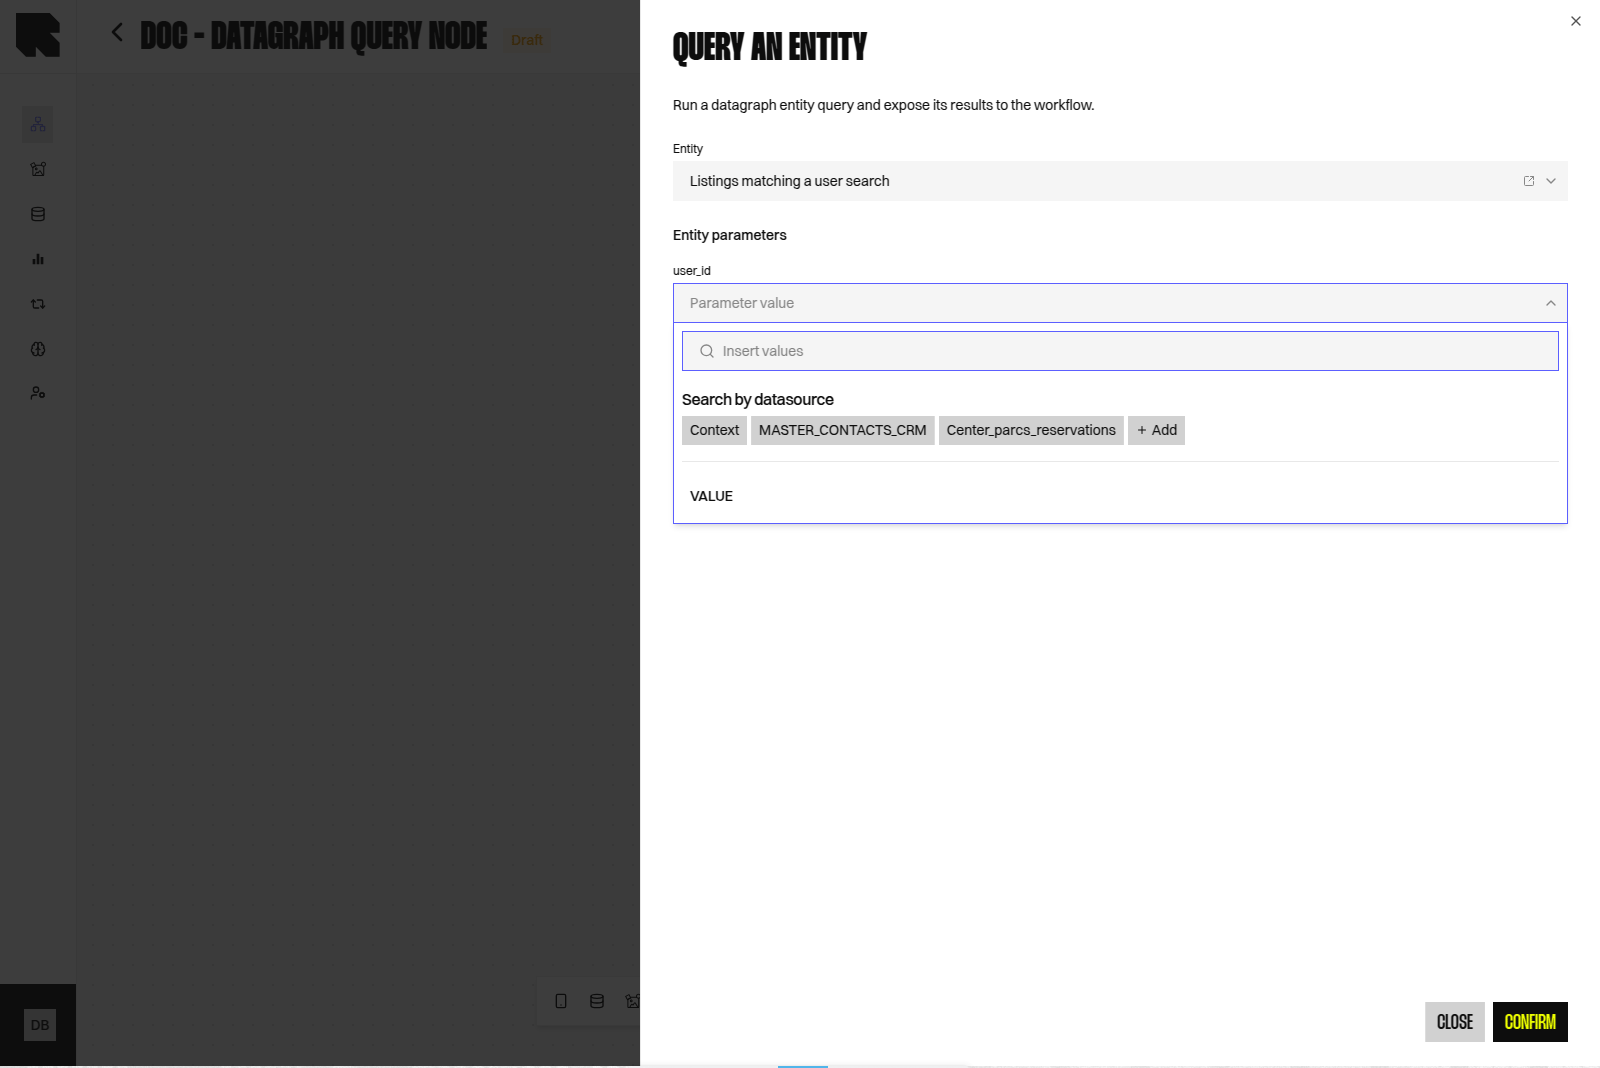
Result Limit
The Result limit accepts between 1 and 200 rows. It stays greyed out until you select an Entity. Keep it close to what your Content really displays. Asking for three products when you show three products keeps your Workflow fast.Using the Data Downstream
The fields returned by the Entity become available to the Nodes that follow, through the Variable Picker. You can use them in your Content, or in a Condition to change what each person sees.If the Node tells you that no published Entity is available, the Entity you need is still a draft. Ask your data team to publish it in DataHub → Datagraph → Entities.
Best Practices
- Preview the Entity in the DataHub first, so you know which fields it returns. The small icon next to the Entity field opens it directly.
- Give every parameter a value. An Entity that misses a mandatory parameter returns nothing.
- Re-open the Node after your data team publishes a new version of the Entity, to check that the parameters still match.
What’s Next?
Datagraph
Understand where Entities come from and how they are built.
Data Nodes
Review the other ways of bringing data into a Workflow.